
 cPanel
How to Upload Files via the Plesk File Manager
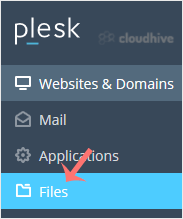
Follow these steps to upload files using the Plesk File Manager. 1. Log in to your Plesk account. 2. Click on Files from the Sidebar Menu. 3. Under File Manager, enter the httpdocs directory. 4. Click on the plus icon and choose Upload File. Then select the file you want to upload from your compu...
 cPanel
How to Change the Language of a Plesk Panel
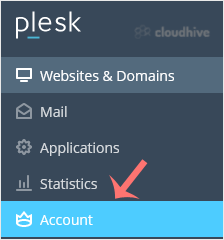
Follow these steps to change the language of the Plesk Panel. 1. Log in to your Plesk account. 2. Click on Account from the Sidebar Menu. 3. Click on My Profile. 4. Scroll down to the Plesk language and choose the appropriate language from the drop-down menu. 5. Click Apply. The language in your ...
cPanel
How to Change the Plesk Account's Contact Details
Follow these steps to change your Plesk account's contact details. 1. Log in to your Plesk account. 2. Click on Account from the Sidebar Menu. 3. Click on My Profile. 4. Click on Contact Details. 5. Update the details as per your requirements. 6. Click Apply. You will see a success message signif...
cPanel
How to Update a Plesk Account's Email Address
Follow these steps to change your Plesk contact email address. 1. Log in to your Plesk account. 2. Click on Account from the Sidebar Menu. 3. Click on My Profile. 4. Enter the new primary email address in the Email Address field. Choose the appropriate domain from the drop-down menu if you have m...
 cPanel
How to Reset a Plesk's Account Password
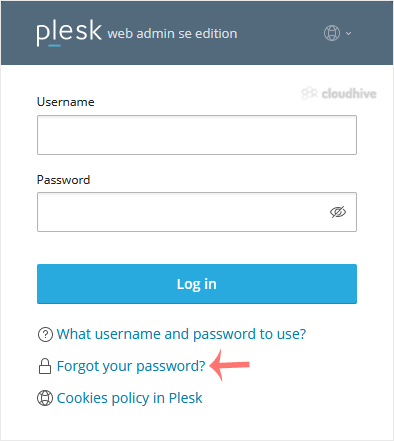
Follow these steps to reset your Plesk account password. 1. Open your Plesk login URL. 2. Click on Forget your password. 3. On the Reset password page, enter your email address or choose the Username option. Then type your username, and click Send. 4. You should receive an email with the reset li...
 cPanel
How to Log in to Plesk
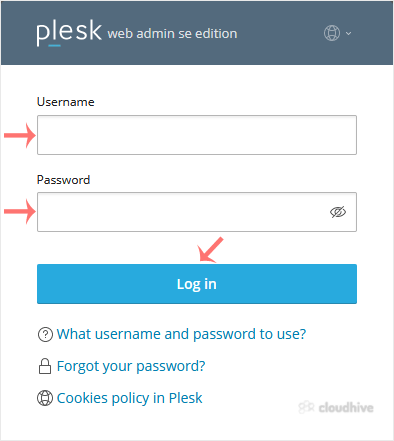
A tutorial on how to access the Plesk Control Panel. After you place an order and make a successful payment, you will receive a welcome email containing login details. Permanent URL: https://$hostname.com:8443 (SSL Protected). http://$hostname.com:8880 (Non-SSL - Insecure). Login using the IP Add...
 cPanel
How to Encrypt Database Password in Plesk Backup
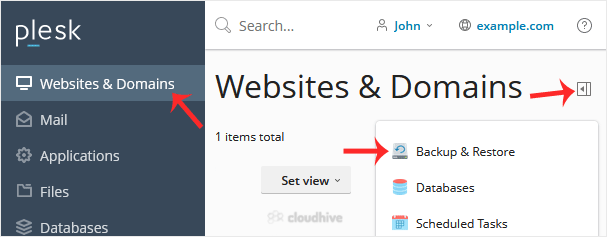
In this tutorial, you will learn how to encrypt the database password in a Plesk backup. 1. Log in to your Plesk account. 2. Go to Websites & Domains > Click on the Pull icon > Choose Backup & Restore. 3. Click on Remote Storage Settings. 4. On the right side of Password Protection,...
cPanel
How to Configure an FTP Backup in Plesk
In this tutorial, you will learn how to configure an FTP backup in Plesk. This allows you to store your website backups on a remote FTP server for added safety and offsite storage. 1. Log in to your Plesk account. 2. Go to Websites & Domains > Click on the Pull icon >> Choose Backup ...
cPanel
How to Exclude Specific Files/Folders from the Plesk Backup
In this tutorial, you will learn how to exclude specific files or folders from a backup in Plesk. This helps reduce the backup size and skip files you do not need to include. 1. Log in to your Plesk account. 2. Go to Websites & Domains > Click on the Pull icon >> Choose Backup & ...
cPanel
How to Generate a Full Backup in Plesk
Backing up is important, and you should do it regularly. Follow this tutorial to make a full backup of your website with Plesk. How to Generate a Backup of your Plesk Account? 1. Log in to your Plesk account. 2. Go to Websites & Domains > Click on the Pull icon > Choose Backup & Res...
cPanel
How to Create an FTP Account in SiteWorx
You can access the FTP account using the SiteWorx login details, which gives you full access to the home directory. However, if you want to create an FTP user account for a specific directory, you should create a separate FTP account. 1. Log in to your SiteWorx account. 2. In the FTP section, cli...
cPanel
How to Create a Directory or Files in the SiteWorx File Manager
SiteWorx File Manager is handy for managing your website files. 1. Log in to your SiteWorx account. 2. In the File Manager section, click on File Manager. 3. If you have multiple domains, then choose the appropriate domain from the drop-down menu and click on Login. 4. Navigate to the directory w...