
 cPanel
How to Install SolusVM 1 Master/Management Node on Linux
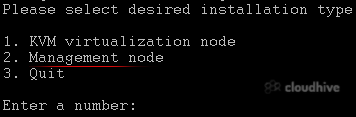
SolusVM is a popular control panel for managing VPS hosting. In SolusVM 1, the master/management node controls virtual server nodes and manages VPS instances. Note: This tutorial is only for SolusVM 1. It does not support latest versions of Linux. In future SolusVM will deprecate v1. So we recomm...
 Security
How to Install Webmin on Linux
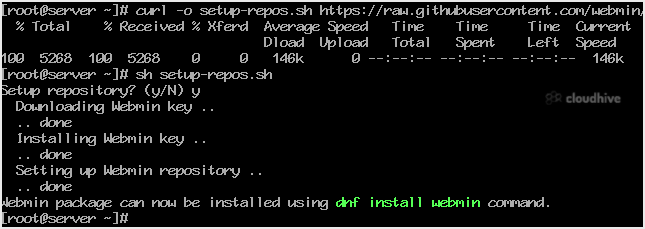
Webmin is a free hosting control panel with easy installation. It takes only 5 to 10 minutes, and the configuration is simple. What are the requirements? - Fresh CentOS, AlmaLinux, RockyLinux, Fedora, Debian, Kali or Ubuntu installed on your VPS/Server. How to install Webmin? Step 1: Log in to SS...
 Tutorial
How to Install DirectAdmin on CentOS
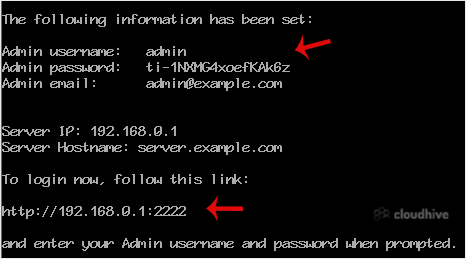
DirectAdmin(DA) is a Commercial Hosting Control Panel used to sell shared and reseller hosting accounts. What are the requirements? - Fresh CentOS, AlmaLinux, Ubuntu, or Debian installed on your VPS/Server. How to install DirectAdmin? Step 1: The first step is to log in to your root account using...
 cPanel
How to Install Plesk on Linux
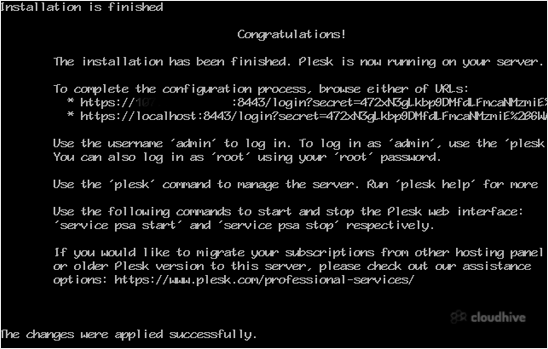
Plesk is a popular website control panel. It makes managing your website easy. Although it is easy to install, going through our tutorial will be very helpful and most likely save you time.Before proceeding with the installation, we recommend using the correct hostname.What are the requirements?-...
 Tutorial
How to Change the WordPress User's Display Name
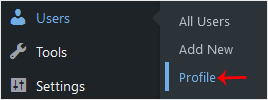
You can change the display name of your WordPress account, which shows on WordPress posts and comments. 1. Log in to the WordPress dashboard.2. From the Dashboard menu, go to Users and click on Profile.3. Locate Nickname and enter your new name.4. From the Display name publicly as, choose your ne...
Security
How to Change the Password of a WordPress Account
You can easily change the password if you have access to your WordPress account.1. Log in to the WordPress dashboard.2. From the Dashboard menu, go to Users and click on Profile.3. Scroll down to Account Management and click on Set New Password.4. Copy the password to a safe place and click on Up...
 Tutorial
How to Forcefully Update or Reinstall a WordPress Plugin
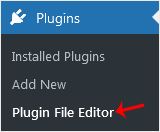
The WordPress plugin is not working correctly, or you want to reinstall it without losing data or removing the plugin.You can do this with both active and inactive plugins.1. Log in to the WordPress dashboard.2. From the Dashboard menu, go to Plugins and click on Plugin File Editor.3. From the dr...
 Tutorial
How to Deactivate and Delete a WordPress Plugin
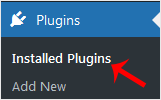
You can deactivate and delete unused plugins from the WordPress dashboard. 1. Log in to the WordPress dashboard. 2. From the Dashboard menu, go to Plugins and click on Installed Plugins. 3. If you want to deactivate the Hello Dolly plugin, click on Deactivate, which appears below the plugin's nam...
 Tutorial
How to Manually Install a WordPress Plugin
The automatic installation of a plugin is easy and straightforward. However, you can also install it manually. It will involve manually downloading a plugin, uploading, and activating it.Make sure you have already downloaded a zip file of the plugin to your desktop.1. Log in to the WordPress dash...
Security
How to Install a WordPress Plugin
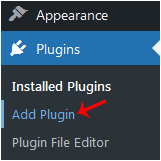
WordPress plugins are very useful. You can easily install a plugin from the WordPress dashboard.1. Log in to the WordPress dashboard.2. From the Dashboard menu, go to Plugins and click on Add Plugin.3. Use the Search filter to find the plugins. Type Security to find plugins related to it.4. The a...
 cPanel
How to Access cPanel Web Disk
You can use the cPanel's login details to access your Web Disk. It supports various operating systems such as Mobile OS and others.1. Log in to your cPanel account. 2. In the Files section, click on Web Disk.3. Under Main Web Disk Account, click on Configure Client Access.4. Select your operating...
cPanel
How to Create an Additional Web Disk Account in cPanel
You can use the cPanel's login details to access your Web Disk. You can also create an additional account for accessing a specific directory on your account.1. Log in to your cPanel account. 2. In the Files section, click on Web Disk. 3. Under Create an Additional Web Disk Account, enter the deta...