
You can remove the self-shutdown timer in Virtualizor. Please, follow the steps below to remove the self-shutdown timer.
1. Log in to your Virtualizor Control Panel.
2. From the left side panel, click on List VPS.

3. Hover your mouse on the appropriate VPS, and that line will be highlighted. Then click on the Wrench icon in the highlighted line.

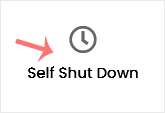
4. Click on the Self Shut Down.
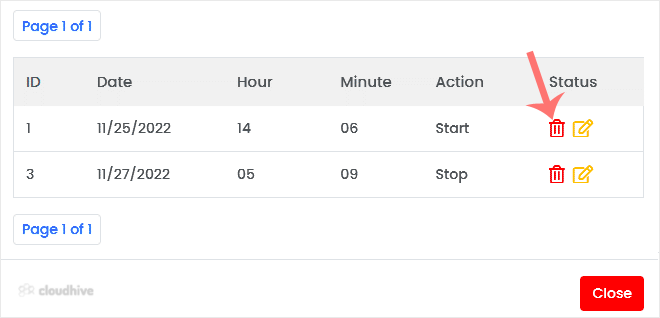
5. If you have multiple timers, hover your mouse on the appropriate one, and that line will be highlighted. Then click the Delete button in the highlighted line.
6. When asked, confirm with OK.
The self-shutdown timer has been deleted.